はじめに
catimg というソフトを見つけたので使ってみる。
https://packages.ubuntu.com/noble/utils/catimg
- posva / catimg
https://github.com/posva/catimg
環境
Windows 11 Professional
WSL2 Ubuntu 24.04 LTS
zsh 5.9 (x86_64-ubuntu-linux-gnu)
Oh my zsh v0.9.2前提
- 256 色をサポートするシェルが必要
※今回は、zsh + Oh my zsh + powerlevel10k/powerlevel10k なので、前提は満たしている。
catimgのインストール
sudo apt-get install catimgログ
$ sudo apt-get install catimg
Reading package lists... Done
Building dependency tree... Done
Reading state information... Done
The following NEW packages will be installed:
  catimg
0 upgraded, 1 newly installed, 0 to remove and 39 not upgraded.
Need to get 43.0 kB of archives.
After this operation, 95.2 kB of additional disk space will be used.
Get:1 http://archive.ubuntu.com/ubuntu noble/universe amd64 catimg amd64 2.7.0-2 [43.0 kB]
Fetched 43.0 kB in 1s (49.8 kB/s)
Selecting previously unselected package catimg.
(Reading database ... 50769 files and directories currently installed.)
Preparing to unpack .../catimg_2.7.0-2_amd64.deb ...
Unpacking catimg (2.7.0-2) ...
Setting up catimg (2.7.0-2) ...
Processing triggers for man-db (2.12.0-4build2) ...catimgを使う
ヘルプを確認
$ catimg -h
Usage: catimg [-hct] [-w width | -H height] [-l loops] [-r resolution] image-file

  -h: Displays this message
  -w: Terminal width/columns by default
  -H: Terminal height/row by default
  -l: Loops are only useful with GIF files. A value of 1 means that the GIF will be displayed twice because it loops once. A negative value means infinite looping
  -r: Resolution must be 1 or 2. By default catimg checks for unicode support to use higher resolution
  -c: Convert colors to a restricted palette
-t: Disables true color (24-bit) support, falling back to 256 colorcatimg [画像ファイル]でよさそう。
catimg のオプション一覧
| オプション | 説明 | デフォルト値 |
|---|---|---|
-h | ヘルプメッセージを表示します。 | - |
-w width | ターミナルの幅(列数)を指定します。 | ターミナルの現在の幅 |
-H height | ターミナルの高さ(行数)を指定します。 | ターミナルの現在の高さ |
-l loops | GIFファイルのループ回数を指定します。 1ならGIFを2回再生。負の値を指定すると無限ループします。 | 1(1回ループで2回再生) |
-r resolution | 解像度を指定します(1 または 2)。Unicodeサポートを確認して高解像度モードを使用します。 | Unicodeサポートで自動設定 |
-c | 色を制限されたパレットに変換します。 | 無効 |
-t | True Color(24ビットカラー)を無効にして256色モードにフォールバックします。 | 有効(True Color) |
catimgで描画してみる
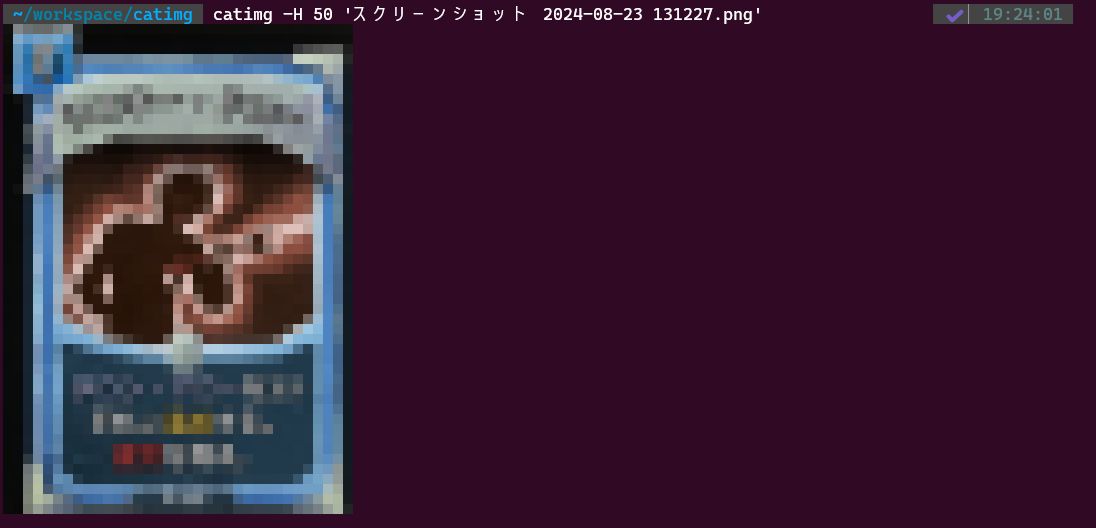
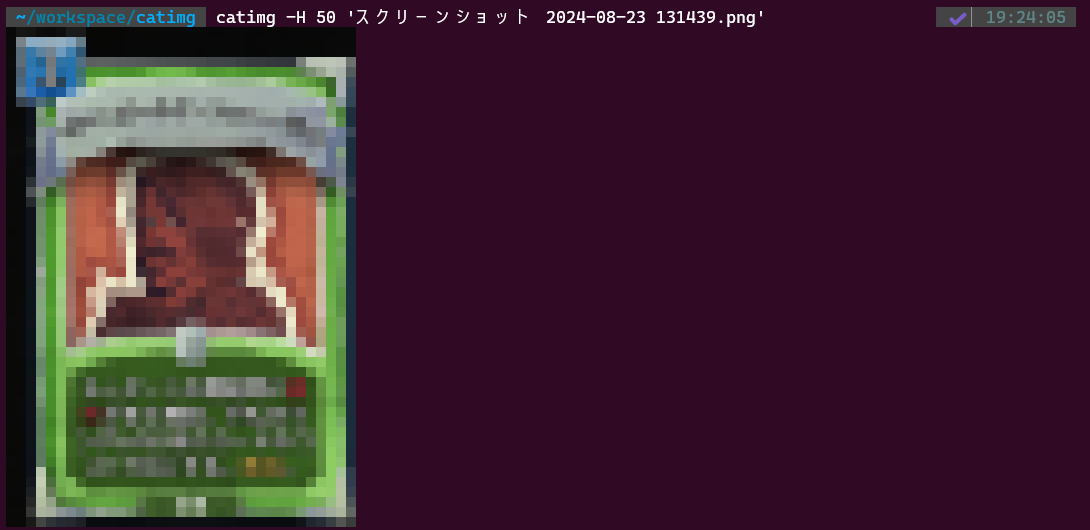
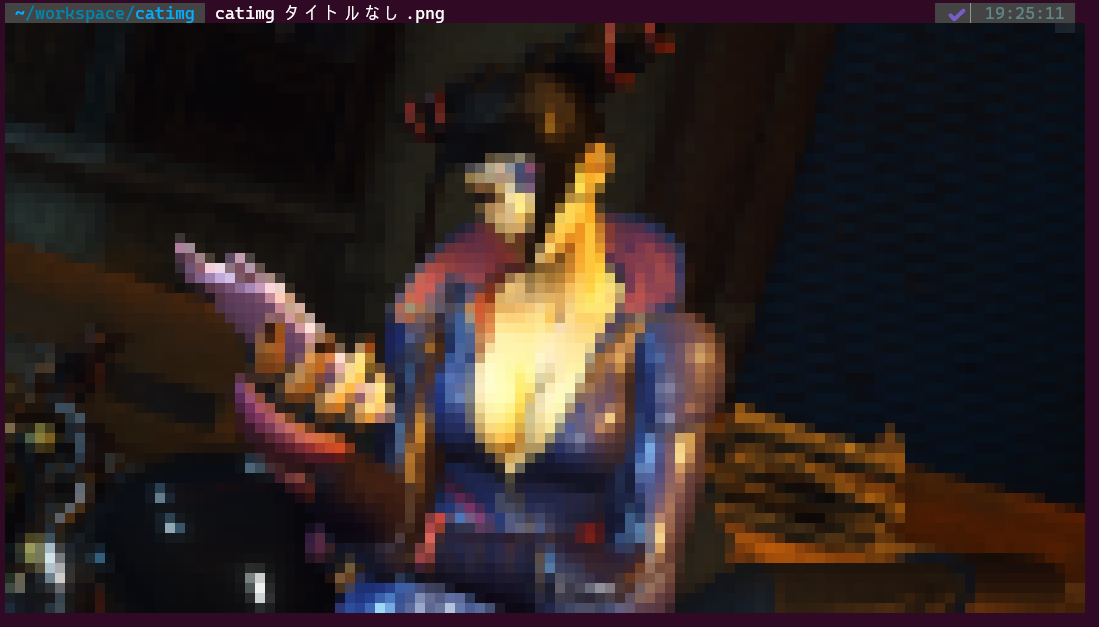
今回の環境ではデフォルトだと高解像度モードで描画されている。
catimg -H 50 'スクリーンショット 2024-08-23 131227.png' 
catimg -H 50 'スクリーンショット 2024-08-23 131439.png' 
catimg タイトルなし.png
参考
パッケージ: catimg (2.7.0-2) [universe] | ubuntu packages
https://packages.ubuntu.com/noble/utils/catimgposva / catimg
https://github.com/posva/catimg
おわりに
画像ファイルを端末で描画することを試してみた。
端末で画像を描画する機会はあまりないが、中身がどういうものだったかなと確認するときにいちいちビューワーを開かなくて済むのは助かる。