はじめに
前回の記事の Ansibleを使ってAmazonLinux2023にCertbotをインストールする では、Certbotをインストールところまで実施した。
今回は、実際にドメインを設定しCertbotで証明書を発行するところまで実施してみる。
環境
EC2 AmazonLinux 2023 t4g.micro
certbot 2.6.0
ドメインの設定
前回作成した環境と同様のものを使用するので、IPアドレスは前回と同様のものを利用する。
以下で設定を行った。
レコードタイプ: A
ドメイン: ssl.k-bushi.com
IPv4アドレス: 35.75.20.179 (前回利用していたIP)
反映されていれば、ドメインでアクセスができるようになる。
Certbotでの証明書発行
Apacheの設定変更
vim /etc/httpd/conf.d/virtual.conf以下のように設定した。
<VirtualHost *:80>
    ServerName ssl.k-bushi.com

    DocumentRoot /var/www/html
    <Directory /var/www/html>
        Options -Indexes +FollowSymLinks
        AllowOverride All
        Require all granted
    </Directory>

</VirtualHost>

<VirtualHost *:443>
    ServerName ssl.k-bushi.com

    DocumentRoot /var/www/html
    <Directory /var/www/html>
        Options -Indexes +FollowSymLinks
        AllowOverride All
        Require all granted
    </Directory>

    SSLEngine on
    SSLCertificateFile /etc/letsencrypt/live/ssl.k-bushi.com/fullchain.pem
    SSLCertificateKeyFile /etc/letsencrypt/live/ssl.k-bushi.com/privkey.pem

</VirtualHost>
httpd -tで Syntax OKとなっていればよし.
証明書発行のチャレンジについて
基本的には、HTTP-01 チャレンジ で http://<YOUR_DOMAIN>/.well-known/acme-challenge/<TOKEN> にアクセスさせて認証する形となる。
ただ、今回は DNS-01 チャレンジ を利用する。
これは、EC2インスタンスがIP制限下にあるため、HTTP-01 チャレンジが成功しないためとなる。
なので、DNS-01チャレンジで証明書を発行する。
証明書の発行
ec2-userで実行
sudo certbot certonly --manual \
-d ssl.k-bushi.com  \
--preferred-challenges dns
Please deploy a DNS TXT record under the name:
_acme-challenge.ssl.k-bushi.com.
with the following value:
[TXTレコードの設定値]
Before continuing, verify the TXT record has been deployed. Depending on the DNS provider, this may take some time, from a few seconds to multiple minutes. You can check if it has finished deploying with aid of online tools, such as the Google Admin Toolbox: https://toolbox.googleapps.com/apps/dig/#TXT/_acme-challenge.ssl.k-bushi.com. Look for one or more bolded line(s) below the line ‘;ANSWER’. It should show the value(s) you’ve just added.
レコードタイプ: TXT
ドメイン: _acme-challenge.ssl.k-bushi.com.
値: [TXTレコードの設定値]
として設定した。
設定完了後、Admin Toolboxとして記載のある下記のURLにアクセスをして確認する。
https://toolbox.googleapps.com/apps/dig/#TXT/_acme-challenge.ssl.k-bushi.com
※設定値が確認できればOK
Press Enter to Continue
Enter を押す。
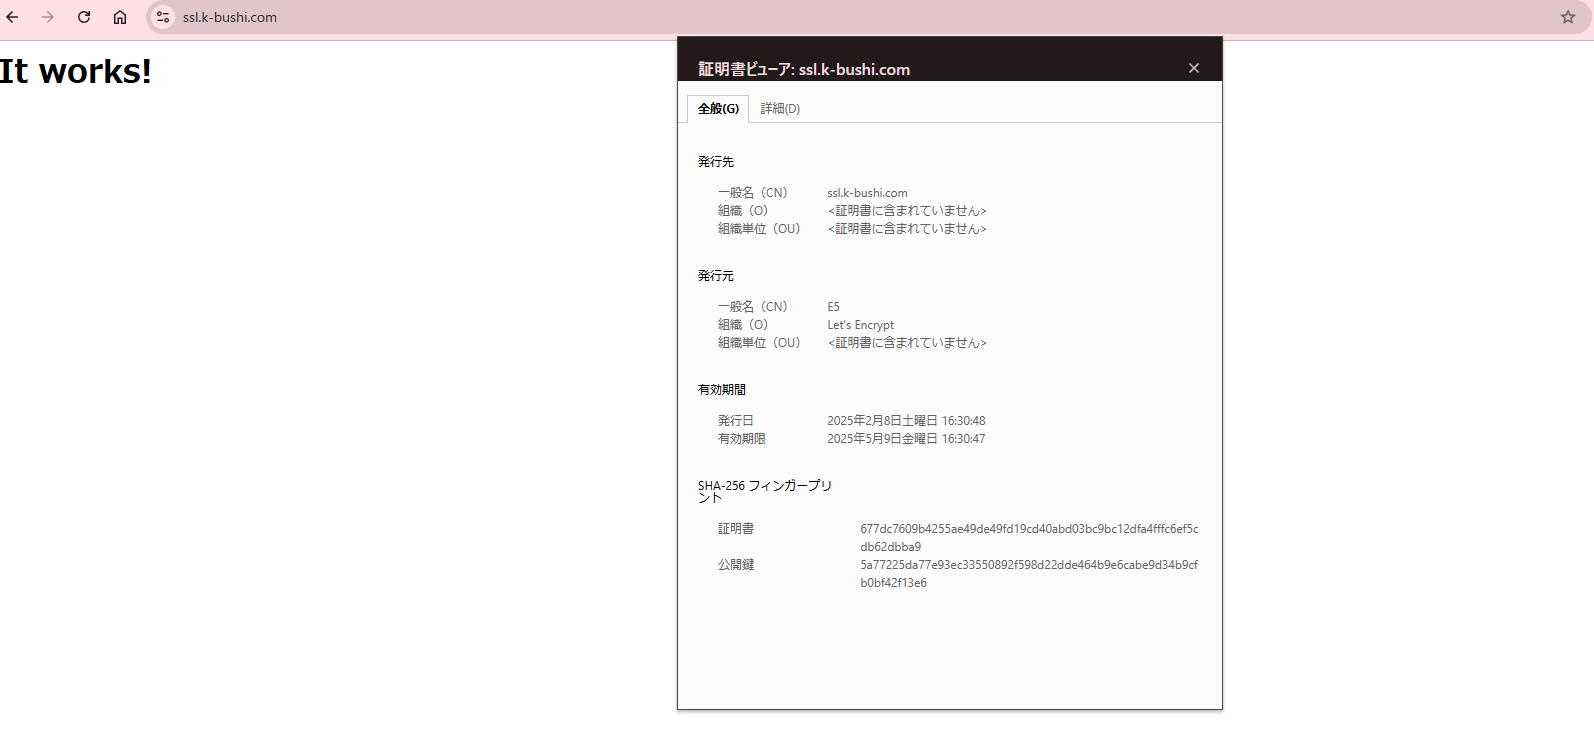
Successfully received certificate. Certificate is saved at: /etc/letsencrypt/live/ssl.k-bushi.com/fullchain.pem Key is saved at: /etc/letsencrypt/live/ssl.k-bushi.com/privkey.pem This certificate expires on 2025-05-09. These files will be updated when the certificate renews.
NEXT STEPS:
- This certificate will not be renewed automatically. Autorenewal of –manual certificates requires the use of an authentication hook script (–manual-auth-hook) but one was not provided. To renew this certificate, repeat this same certbot command before the certificate’s expiry date.
というわけで証明書が発行できた!
証明書の確認
cd /etc/letsencrypt/live/ssl.k-bushi.com/

[root@ip-172-31-40-240 ssl.k-bushi.com]# ll
合計 4
-rw-r--r--. 1 root root 692  2月  8 17:29 README
lrwxrwxrwx. 1 root root  39  2月  8 17:29 cert.pem -> ../../archive/ssl.k-bushi.com/cert1.pem
lrwxrwxrwx. 1 root root  40  2月  8 17:29 chain.pem -> ../../archive/ssl.k-bushi.com/chain1.pem
lrwxrwxrwx. 1 root root  44  2月  8 17:29 fullchain.pem -> ../../archive/ssl.k-bushi.com/fullchain1.pem
lrwxrwxrwx. 1 root root  42  2月  8 17:29 privkey.pem -> ../../archive/ssl.k-bushi.com/privkey1.pem
できてる!
Apacheの再起動 + 確認
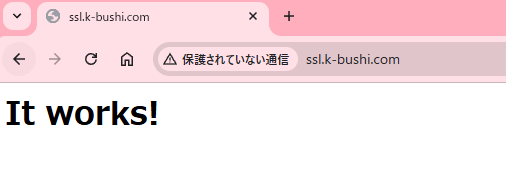
systemctl reload httpdhttps://ssl.k-bushi.com にアクセスをする。
自動更新設定
systemd-timerの設定
AmazonLinux 2023であれば、certbot-renew.timerが既にスケジュールされている。
まずは、下記でリストに表示されるかを確認する。
systemctl list-timers | grep certbot-renewログ
[root@ip-172-31-40-240 ssl.k-bushi.com]# date
2025年  2月  8日 土曜日 17:42:08 JST

[root@ip-172-31-40-240 ssl.k-bushi.com]# systemctl list-timers | grep certbot-renew
Sun 2025-02-09 10:42:15 JST 17h left      -                           -           certbot-renew.timer              certbot-renew.service
となっているのでOK。
※ 2/9 10:42:15 に実行される予定となっている。
もし、有効化されていない場合については以下のコマンドで有効にしておく。
sudo systemctl enable --now certbot-renew.timer有効化後には、タイマーの状態も確認しておく。
systemctl status certbot-renew.timeractive (waiting) となっていればOK
Trigger: Sun 2025-02-09 10:42:15 JST; 16h left として、次の実行日時が表示されていればOK
ログ
[root@ip-172-31-40-240 ssl.k-bushi.com]# systemctl status certbot-renew.timer
● certbot-renew.timer - This is the timer to set the schedule for automated renewals
     Loaded: loaded (/usr/lib/systemd/system/certbot-renew.timer; enabled; preset: disabled)
     Active: active (waiting) since Sat 2025-02-08 15:34:30 JST; 2h 9min ago
    Trigger: Sun 2025-02-09 10:42:15 JST; 16h left
   Triggers: ● certbot-renew.service

 2月 08 15:34:30 ip-172-31-40-240.ap-northeast-1.compute.internal systemd[1]: Started certbot-renew.timer - This is the timer to set the schedule for automated renewals.
補足
certbot-renew.timer は以下の設定となっている。
[Unit]
Description=This is the timer to set the schedule for automated renewals

[Timer]
OnCalendar=*-*-* 00/12:00:00
RandomizedDelaySec=12hours
Persistent=true

[Install]
WantedBy=timers.target
また、 実行内容となる certbot-renew.service配下となる。
[Unit]
Description=This service automatically renews any certbot certificates found

[Service]
EnvironmentFile=/etc/sysconfig/certbot
Type=oneshot
ExecStart=/usr/bin/certbot renew --noninteractive --no-random-sleep-on-renew $PRE_HOOK $POST_HOOK $RENEW_HOOK $DEPLOY_HOOK $CERTBOT_ARGS
Apacheの再起動を追加する
証明書の更新は行われるが、Apacheの再起動、リロードなどは行ってくれない。
なので、サービスをオーバーライドする形で設定を追加する。
sudo mkdir -p /etc/systemd/system/certbot-renew.service.d
sudo vim /etc/systemd/system/certbot-renew.service.d/override.confoverride.confは、以下のように設定する。
[Service]
ExecStartPost=/bin/systemctl reload httpd
以下で反映を行う。
sudo systemctl daemon-reload
sudo systemctl restart certbot-renew.timer
systemctl status certbot-renew をすると、override.confが読み込まれていることがわかる。
[root@ip-172-31-40-240 ssl.k-bushi.com]# systemctl status certbot-renew
○ certbot-renew.service - This service automatically renews any certbot certificates found
     Loaded: loaded (/usr/lib/systemd/system/certbot-renew.service; static)
    Drop-In: /etc/systemd/system/certbot-renew.service.d
             └─override.conf
     Active: inactive (dead)
TriggeredBy: ● certbot-renew.timer
[root@ip-172-31-40-240 ssl.k-bushi.com]#
参考
チャレンジの種類 | Let’s Encrypt
https://letsencrypt.org/ja/docs/challenge-types/Let’s EncryptのDNS-01チャレンジでのSSL証明書更新(手動)
https://qiita.com/gbgb-ojisan/items/be8a35270a84b6b7ca2e
おわりに
Certbotで証明書を発行まで確認した。
次回は、発行する秘密鍵の形式を変更するということをやってみる。