はじめに
GoogleAnalyticsをHugoBlogに導入したいと思ったのでしてみる。
環境
Hugo 0.110.0GoogleAnalyticsのタグの取得
GoogleAnalyticsのプロパティ作成
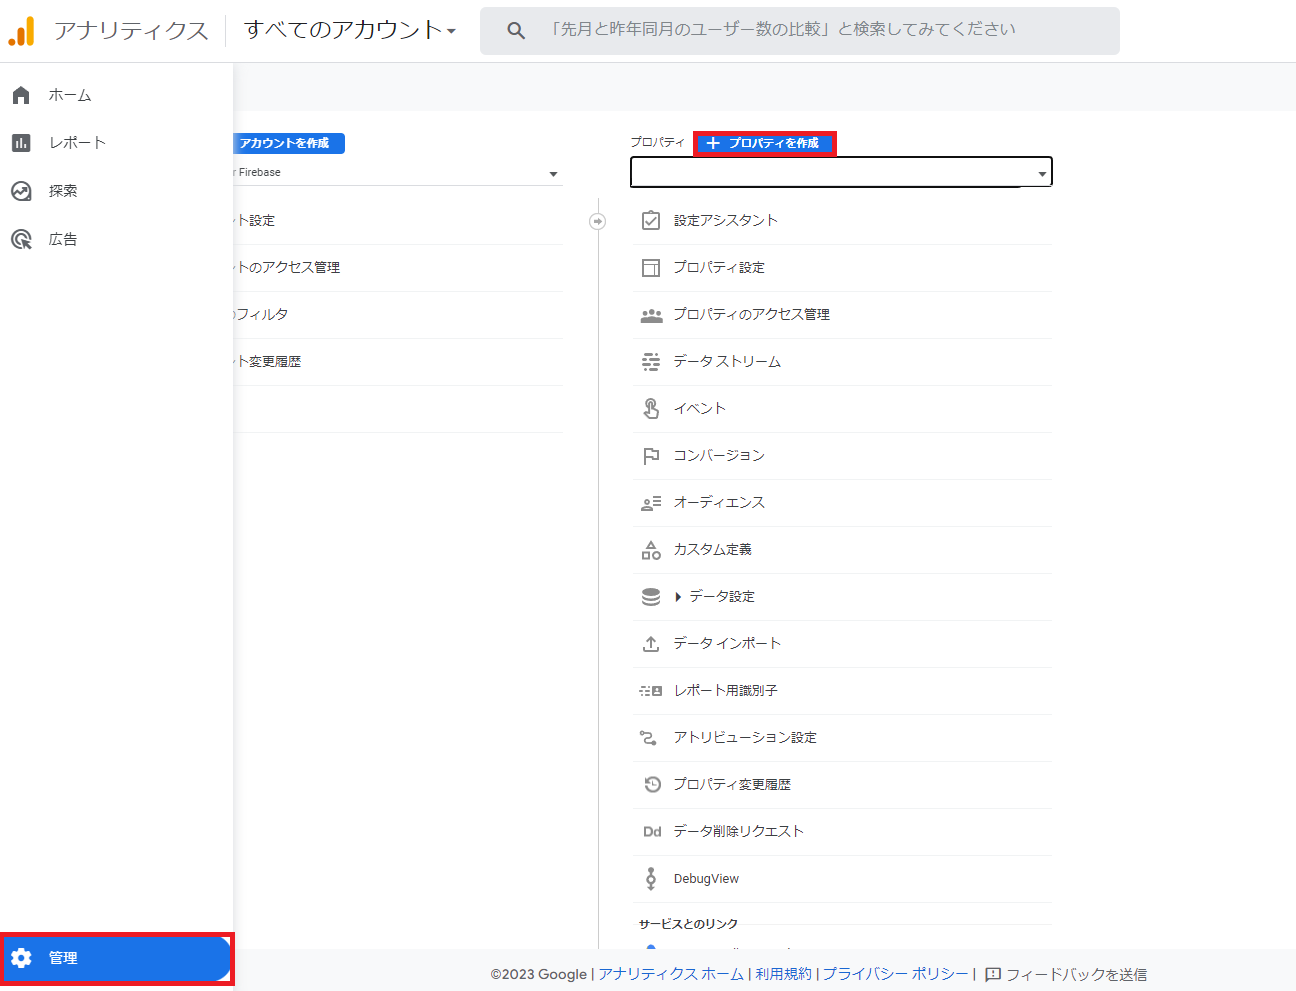
- https://analytics.google.com/ にアクセスする。
- 「管理」→「プロパティを作成」を押す。
- プロパティを作成するで下記のように入力。
| 項目 | 設定値 |
|---|---|
| プロパティ名 | hugo-blog |
| レポートのタイムゾーン | 日本 |
| 通貨 | 日本円 |

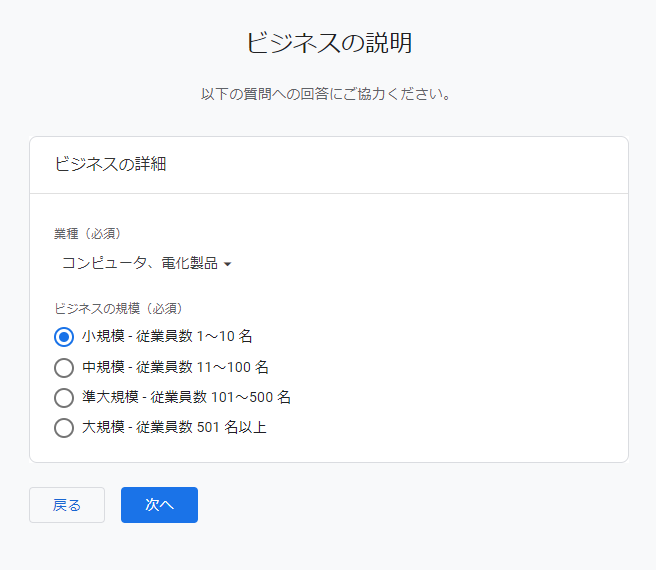
ビジネスの説明を入力
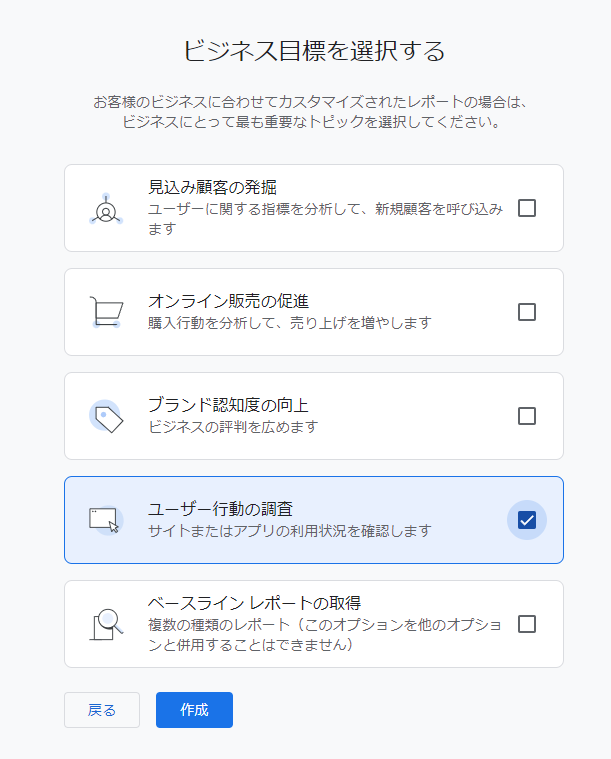
ビジネス目標の入力
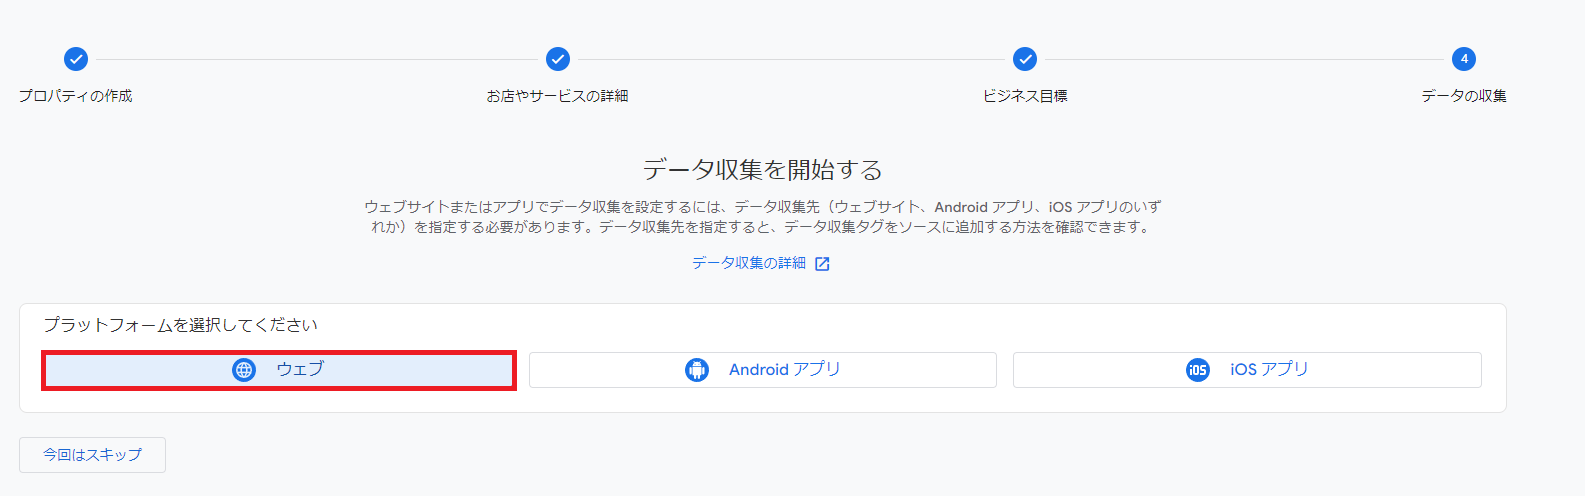
データ収集を開始するで「ウェブ」を選択する
ウェブストリームを作成を押し入力する。
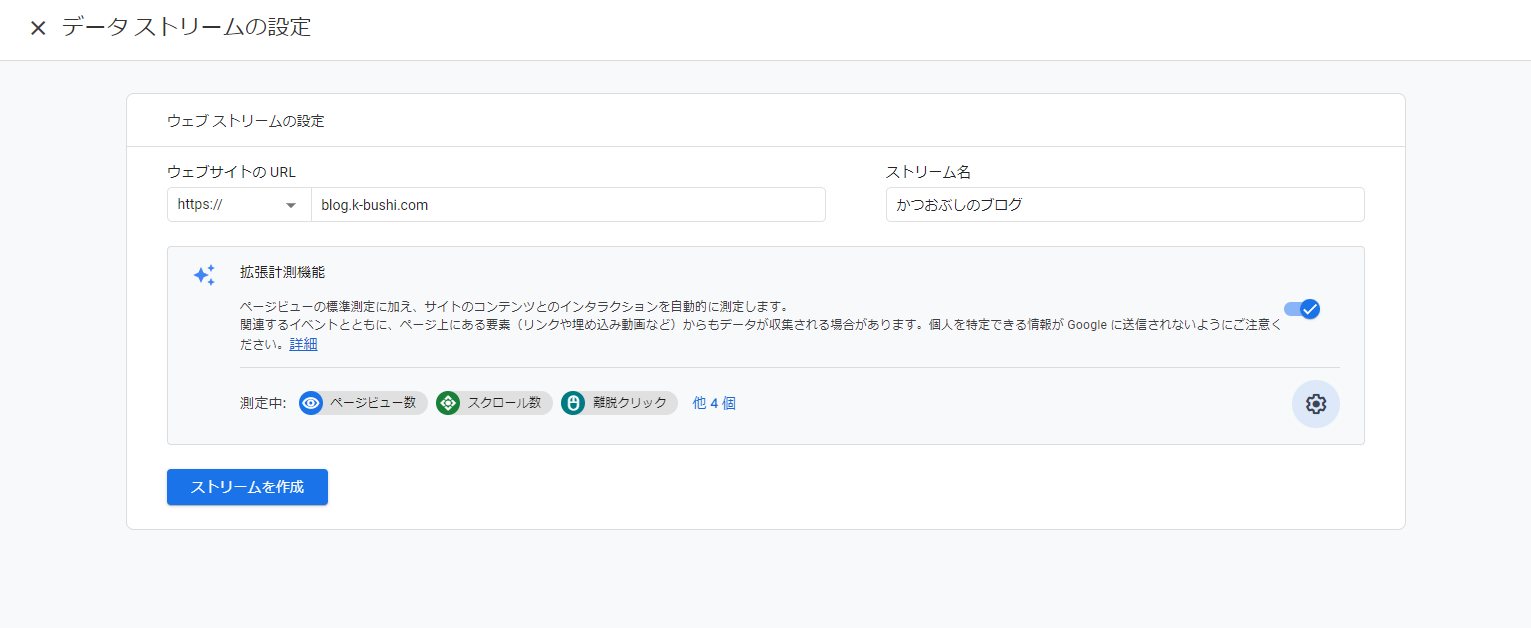
タグが出力されるので控える。
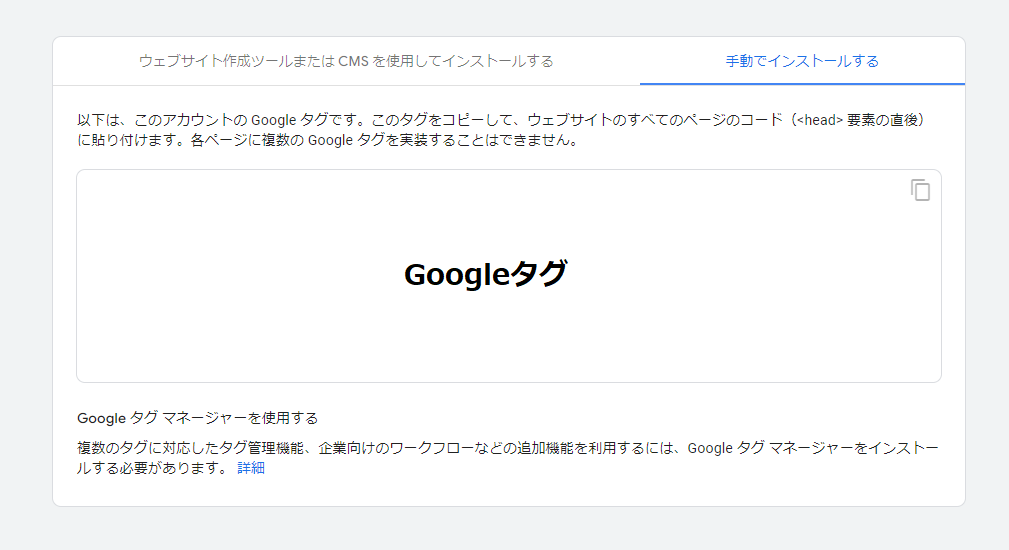
これで GoogleAnalyticsの設定は完了
HugoBlogへの導入
custom_head.htmlの作成
Hugoではテーマを直接編集することはなく、基本的に設定を入れることで大体のことはできる。
そのため、Janeではどのようにすると実現できるかを調査したところ、custom_head.htmlを作成していじれば良いということがわかった。
そのため、プロジェクトルート直下の layouts ディレクトリに、 partials ディレクトリを作成し、その後 custom_head.html を作成する。
これで、custom_head.htmlに書き込みを行うことで、 <head>要素にタグを埋め込むことができる。
custom_head.html は下記のように作成した。
{{- if and (not .Site.IsServer) .Site.GoogleAnalytics -}}
<!-- Google tag (gtag.js) -->
<script async src="https://www.googletagmanager.com/gtag/js?id=G-XXXXXXXX"></script>
<script>
  window.dataLayer = window.dataLayer || [];
  function gtag(){dataLayer.push(arguments);}
  gtag('js', new Date());

  gtag('config', 'G-XXXXXXXX');
</script>
{{- end -}}
theme/jane/layouts/partials/head.html を見ると
<!-- Analytics -->
{{- if and (not .Site.IsServer) .Site.GoogleAnalytics -}}
  {{ template "_internal/google_analytics.html" . }}
{{- end -}}

<!-- Custom head -->
{{ partial "custom_head.html" . }}こんな感じで記述がある。config.toml に UAタグを書けばいけるのだが、UAタグは廃止されているので、これは使えない。
なので、if の分岐部分を流用し、custom_head.htmlを作成したというのが経緯になる。
というわけで、この状態でデプロイしてみる。
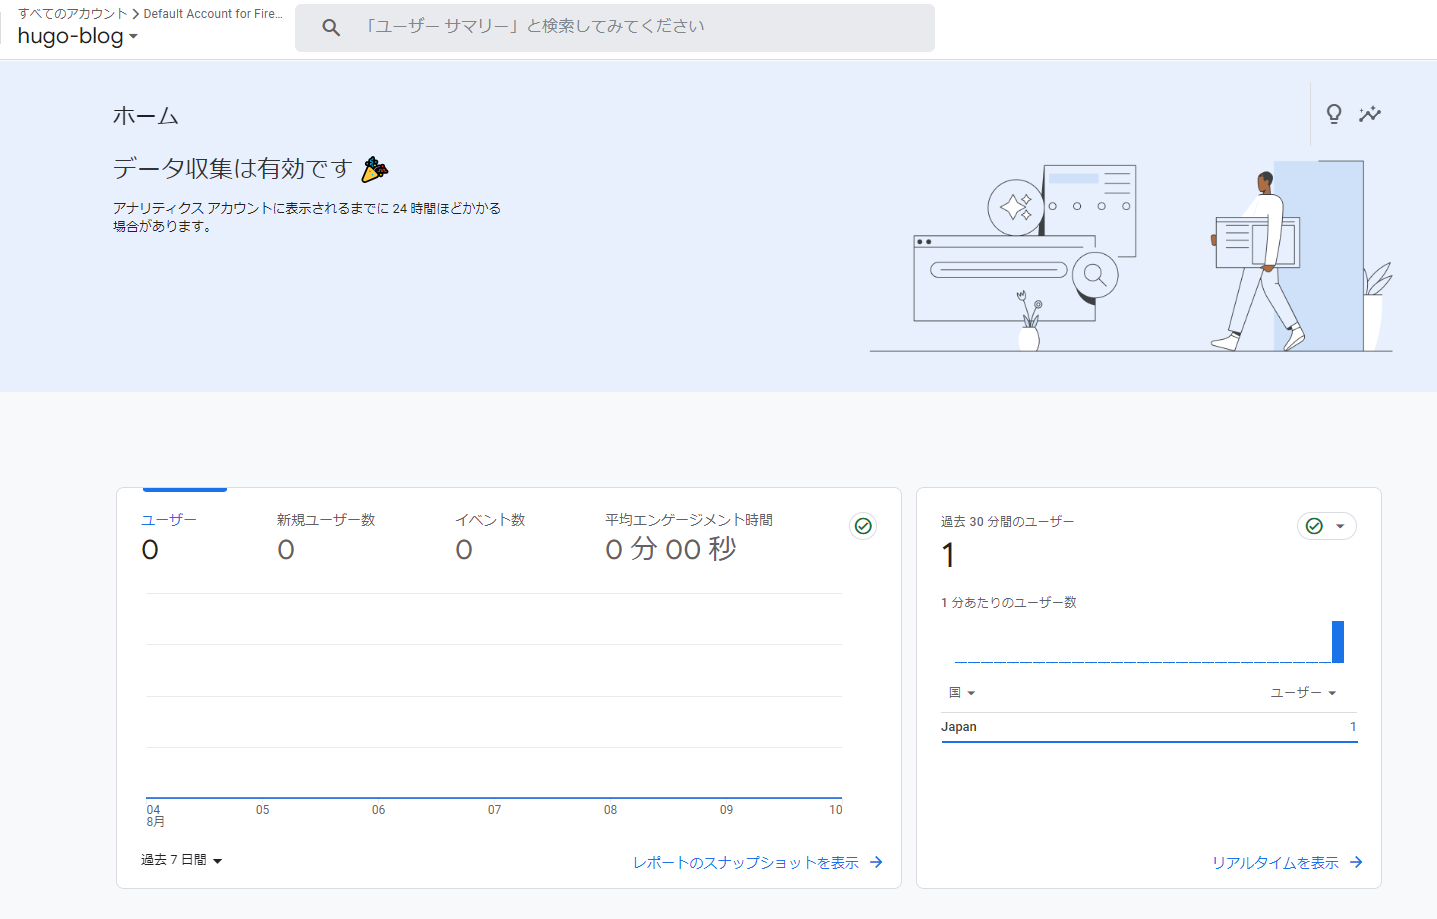
動作確認
デプロイ後にアクセスをし、下記のように「データ収集は有効です」となっていればOK
参考
- Hugo で生成しているブログをユニバーサルアナリティクスから Google Analytics 4 に移行する
https://michimani.net/post/development-migrate-google-analytics-gav4/ - HugoのGoogle AnalyticsをGA4対応
https://scribble.washo3.com/hugo-analytics-ga4.html - Google Analytics 4 への移行作業
https://blog.kondoumh.com/entry/2022/04/29/232603
おわりに
GoogleAnalytics使用したかったので導入してみました。
適度に見てみようと思います。