はじめに
前回の記事 で作成したGitLabの環境を使用する。
GitLab-runnerはCI/CDジョブを実行するエージェントのため、入れることでGitLabの機能が拡張される。
環境
Windows 10 Professional
WSL2 (Ubuntu22.04 LTS)
docker version 23.0.5
Docker Compose version v2.17.3
構築
compose.ymlの変更
前回作成した GitLabの compose.ymlを下記のようにする。
services:
  gitlab:
    build: ./gitlab
    hostname: 'gitlab.example.com'
    environment:
      GITLAB_OMNIBUS_CONFIG:
        external_url 'http://gitlab.example.com/'
    volumes:
      - '$GITLAB_HOME/config:/etc/gitlab'
      - '$GITLAB_HOME/logs:/var/log/gitlab'
      - '$GITLAB_HOME/data:/var/opt/gitlab'
    ports:
      - '80:80'
      - '443:443'
      - '22:22'
    shm_size: '256m'
  runner:
    image: 'gitlab/gitlab-runner:latest'
    restart: always
    volumes:
      - ./srv/gitlab-runner/config:/etc/gitlab-runner
      - /var/run/docker.sock:/var/run/docker/sock
    ports:
      - "8093:8093"
前回との差分はここ
+  runner:
+    image: 'gitlab/gitlab-runner:latest'
+    restart: always
+    volumes:
+      - ./srv/gitlab-runner/config:/etc/gitlab-runner
+      - /var/run/docker.sock:/var/run/docker/sock
+    ports:
+      - "8093:8093"
ビルド+構築
下記を実行し、起動を行う。
docker compose up -dGitlab-runnerを使用するための準備
Gitlabへのログイン
前回作成したGitLabの環境の root ユーザのパスワードを忘れてしまったので、下記でパスワードを変更する。
https://docs.gitlab.com/ee/security/reset_user_password.html#reset-your-root-password
GitLabコンテナへログインする。
docker compose exec gitlab bashコンテナ内で、 gitlab-rake "gitlab:password:reset" を実行する。
root@gitlab:/# gitlab-rake "gitlab:password:reset"ユーザ名を聞かれるので、 root と入力し、その後のパスワードを入力する。
Enter username: root
Enter password:
Confirm password:
Password successfully updated for user with username root.
これでパスワードリセットができたのでログインをする。
GitLabのプロジェクトにRunnerを登録する
トークンの取得
今回新しく
test-runnerプロジェクトを作成した。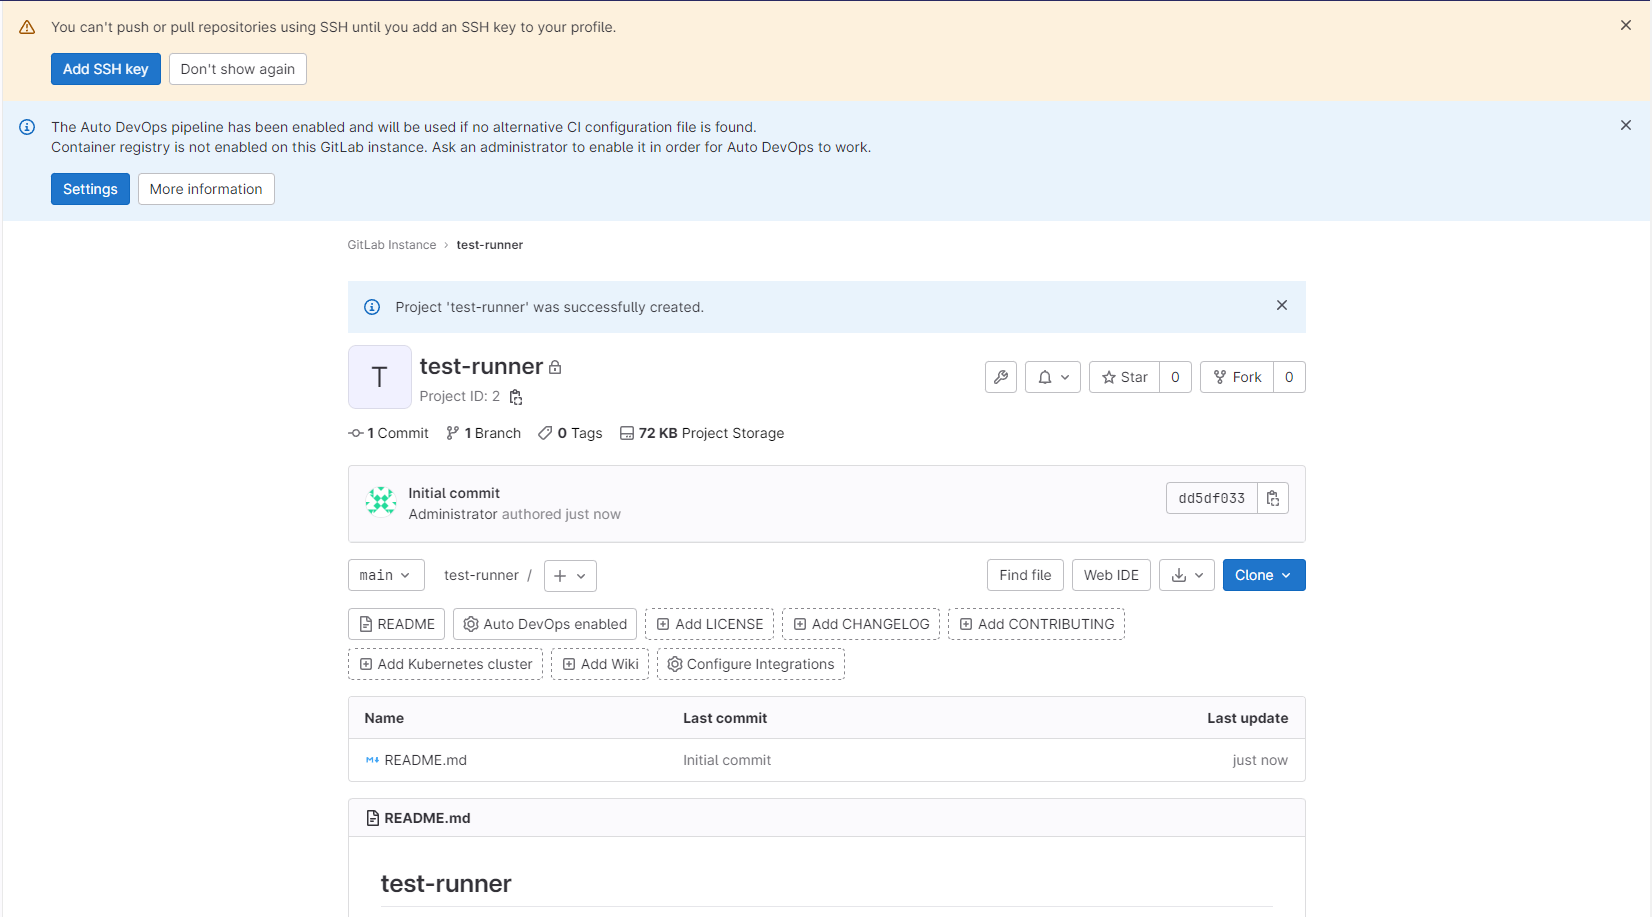
対象のプロジェクトの
CI/CDのページへ遷移する。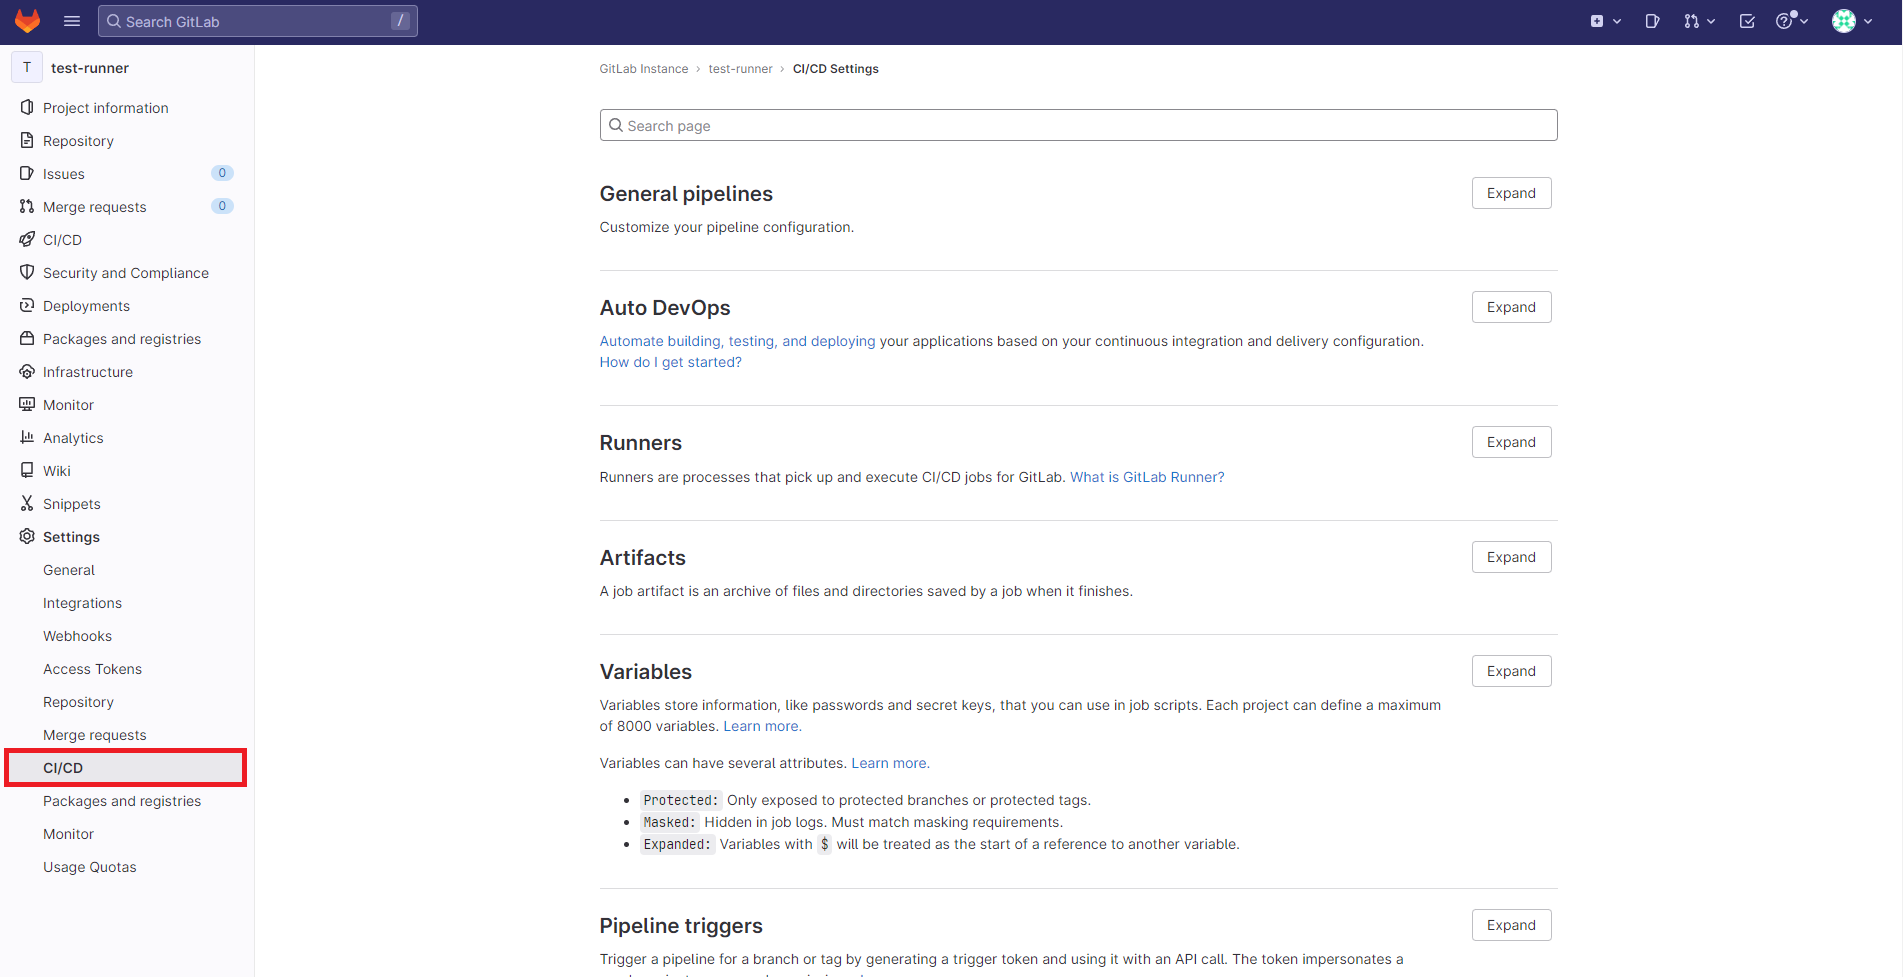
RunnersのExpandを押し、Specific runnersに表示されているURL とregistration tokenを控える。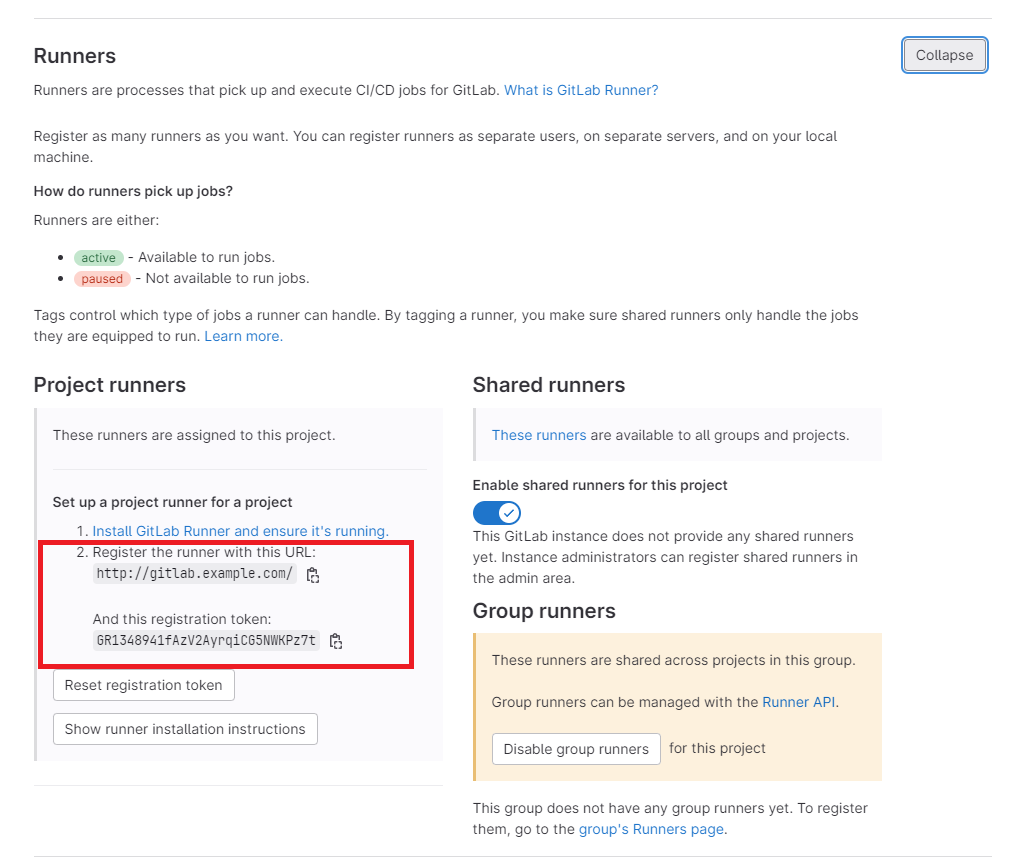
Gitlab-runner への登録
- gitlab-runnerコンテナへ入る。
docker compose exec runner bashgitlab-runner registerを実行する
root@1ce083816d04:/# gitlab-runner register- URLとtokenを入力する。
Enter the GitLab instance URL (for example, https://gitlab.com/):
http://gitlab.example.com/
Enter the registration token:
GR1348941fAzV2AyrqiCG5NWKPz7t- あとは適当に
Enter a description for the runner:
[1ce083816d04]:
Enter tags for the runner (comma-separated):

Enter optional maintenance note for the runner:

WARNING: Support for registration tokens and runner parameters in the 'register' command has been deprecated in GitLab Runner 15.6 and will be replaced with support for authentication tokens. For more information, see https://gitlab.com/gitlab-org/gitlab/-/issues/380872
Registering runner... succeeded                     runner=GR1348941fAzV2Ayr
Enter an executor: ssh, docker+machine, kubernetes, docker, docker-windows, docker-ssh, parallels, shell, custom, virtualbox, docker-autoscaler, docker-ssh+machine, instance:
shell
Runner registered successfully. Feel free to start it, but if it's running already the config should be automatically reloaded!

Configuration (with the authentication token) was saved in "/etc/gitlab-runner/config.toml" - 登録が完了したら、 Gitlab-runnerを起動する。
gitlab-runner run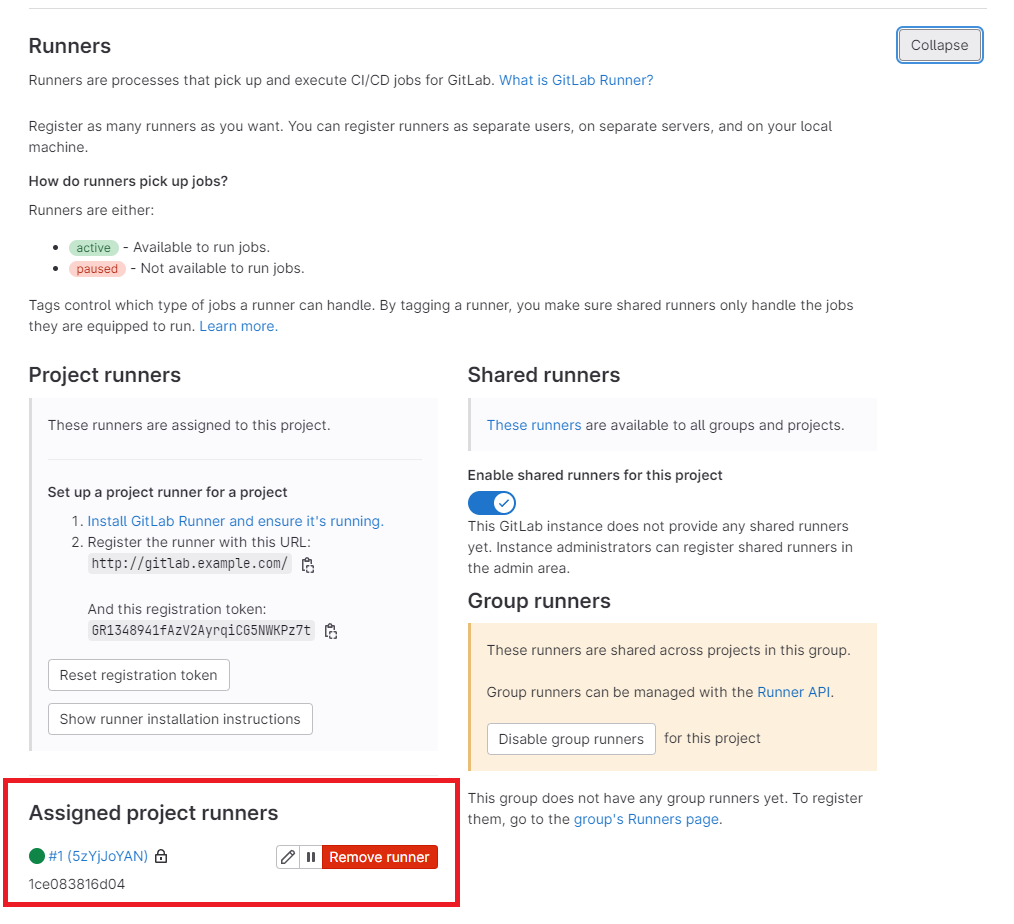
先程の Runners のページで上記のように追加されていればOK.
Gitlab-runnerを使う
.gitlab-ci.ymlの作成
プロジェクトの
CI/CDからEditorを押し、Configure Pipelineを押す。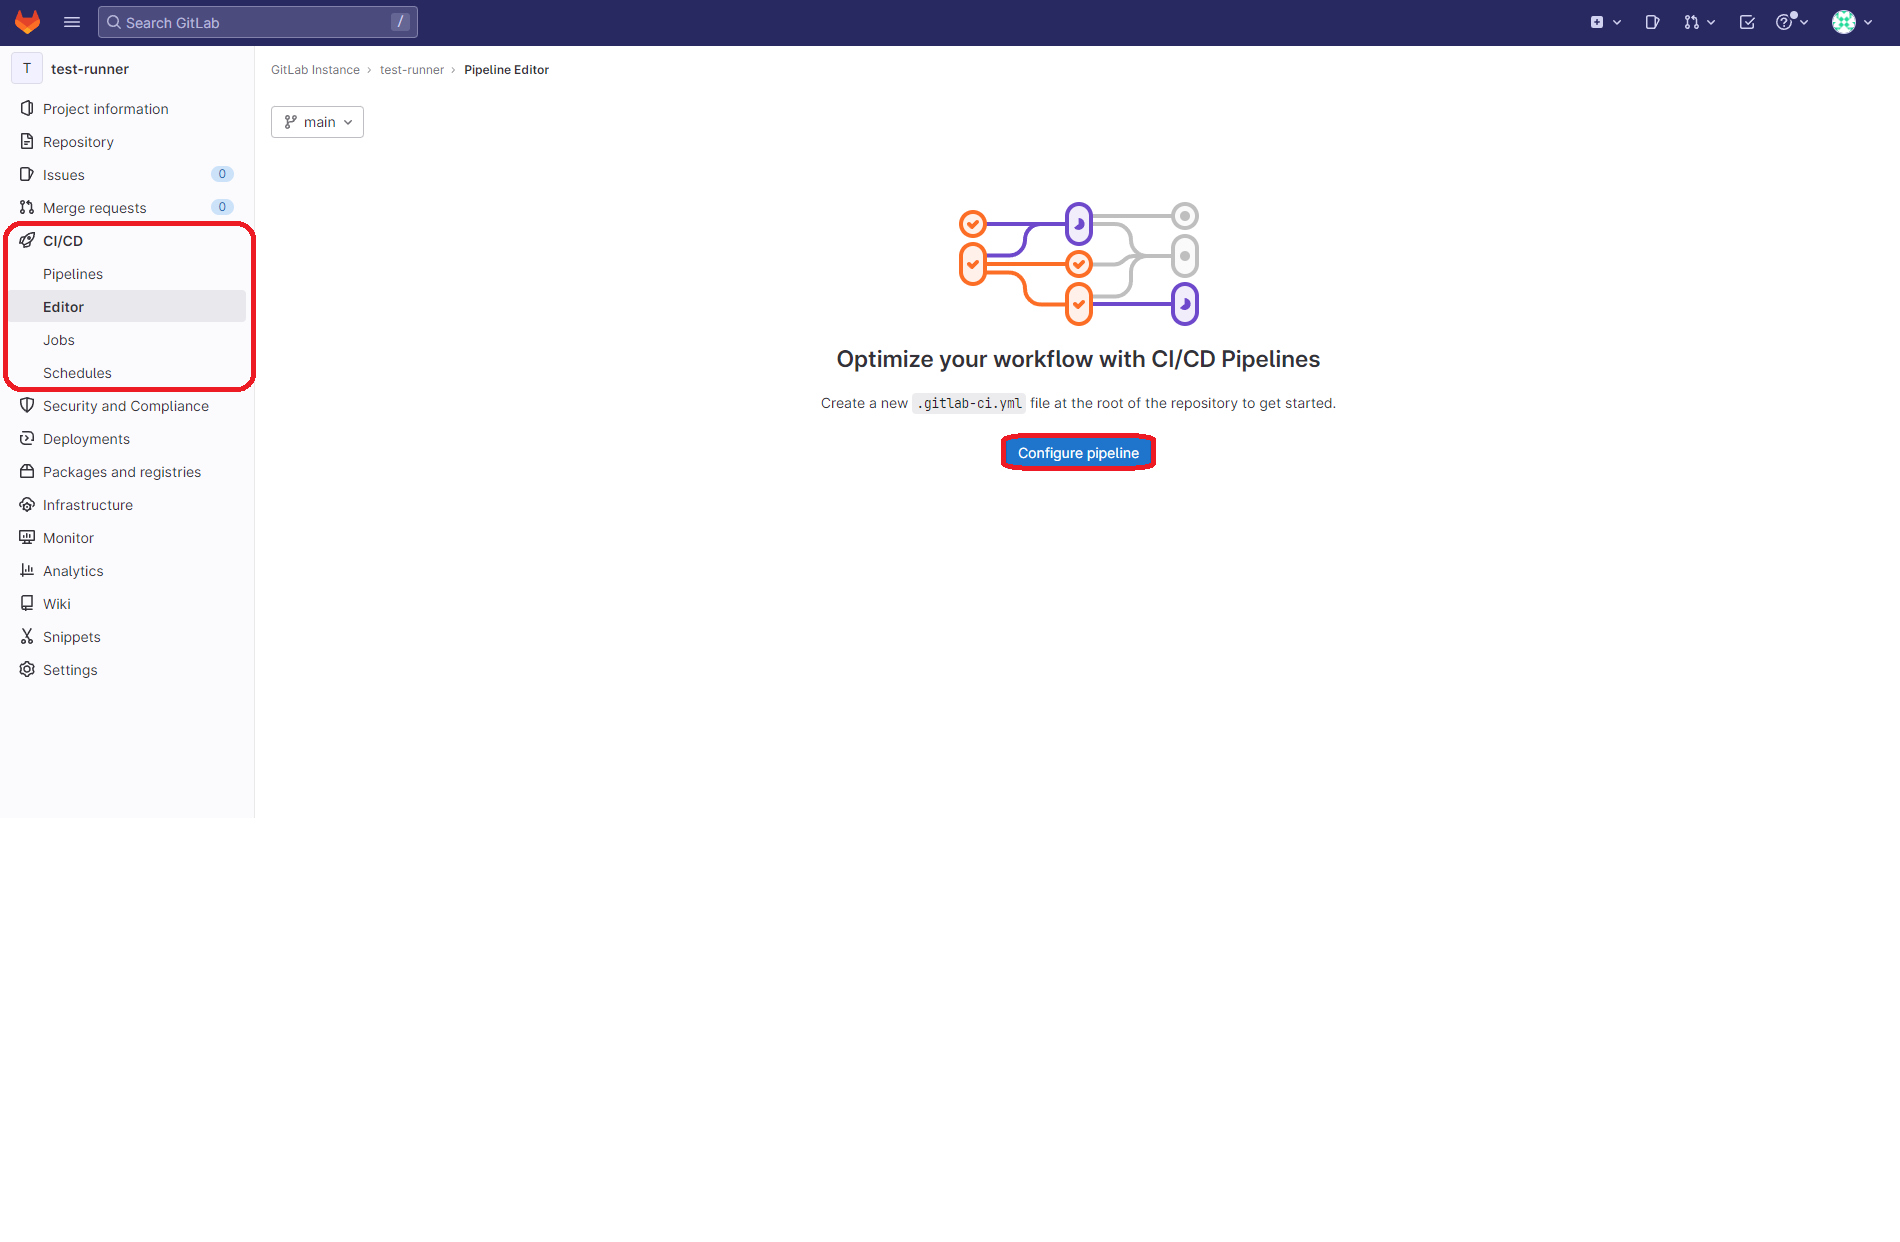
下記のように記載してコミットする。
build:
  script:
    - echo hello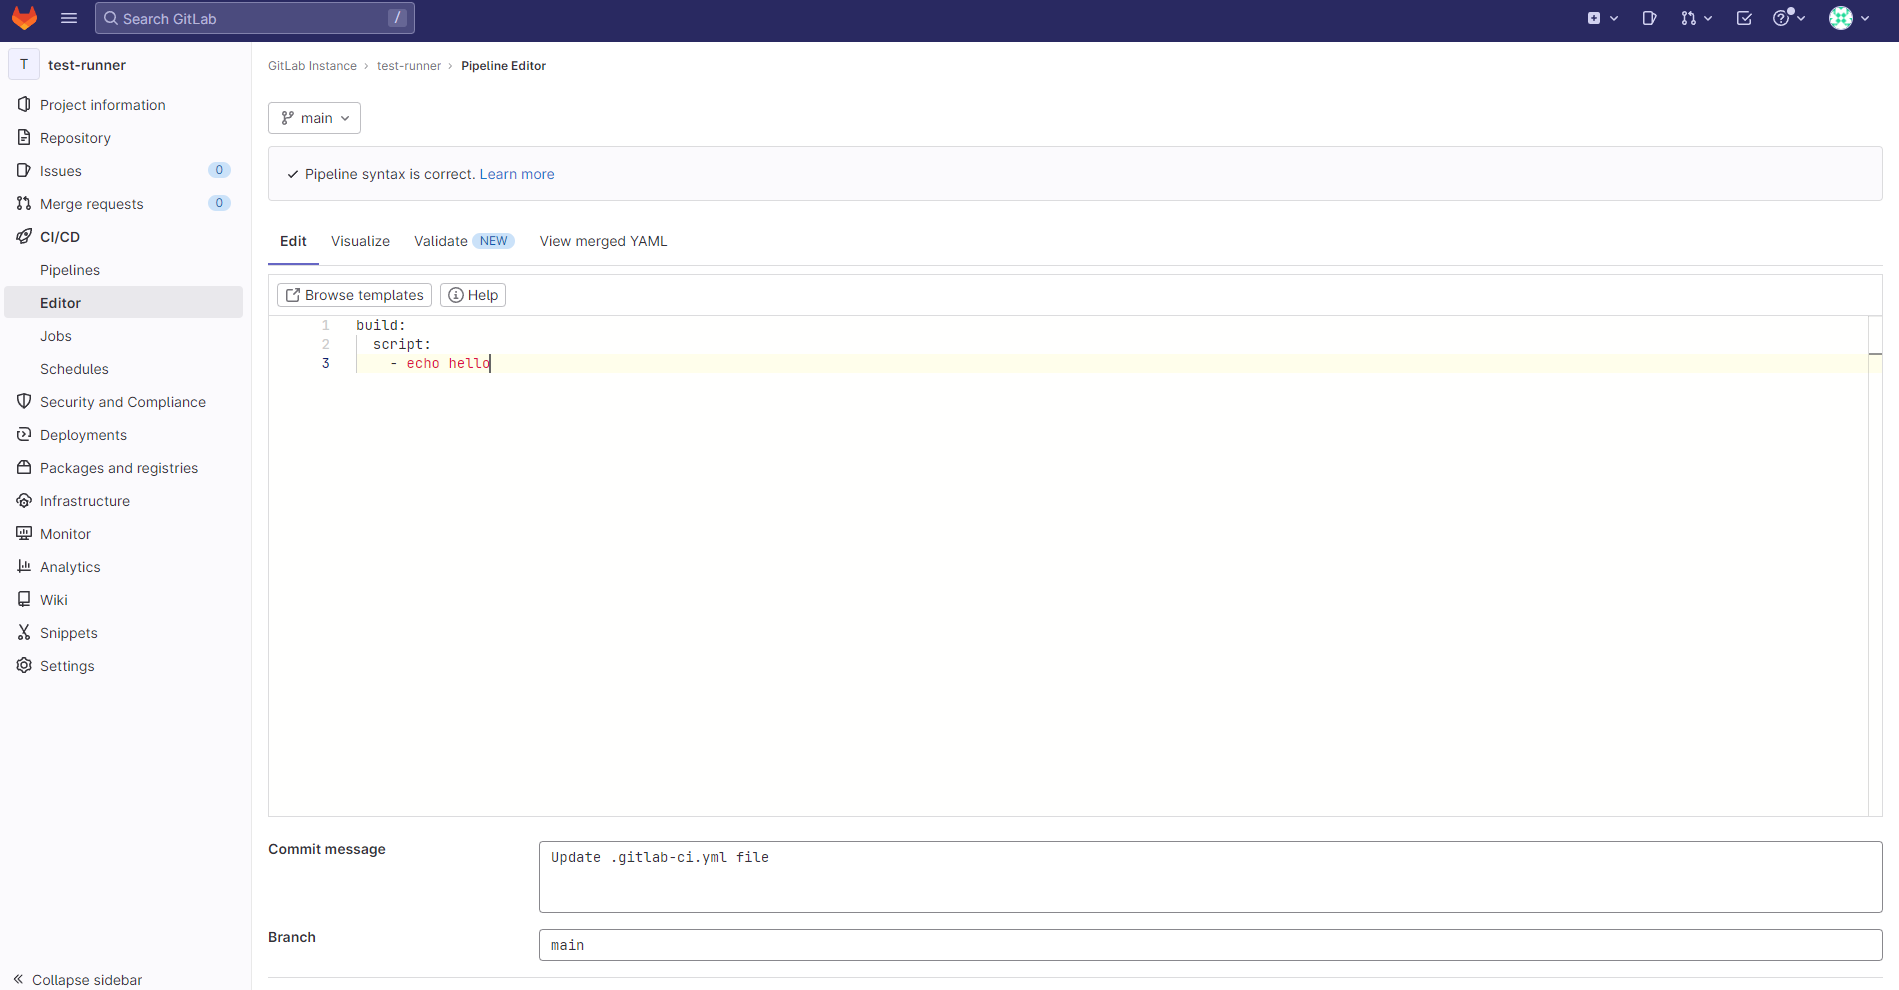
Jobsを確認してみる。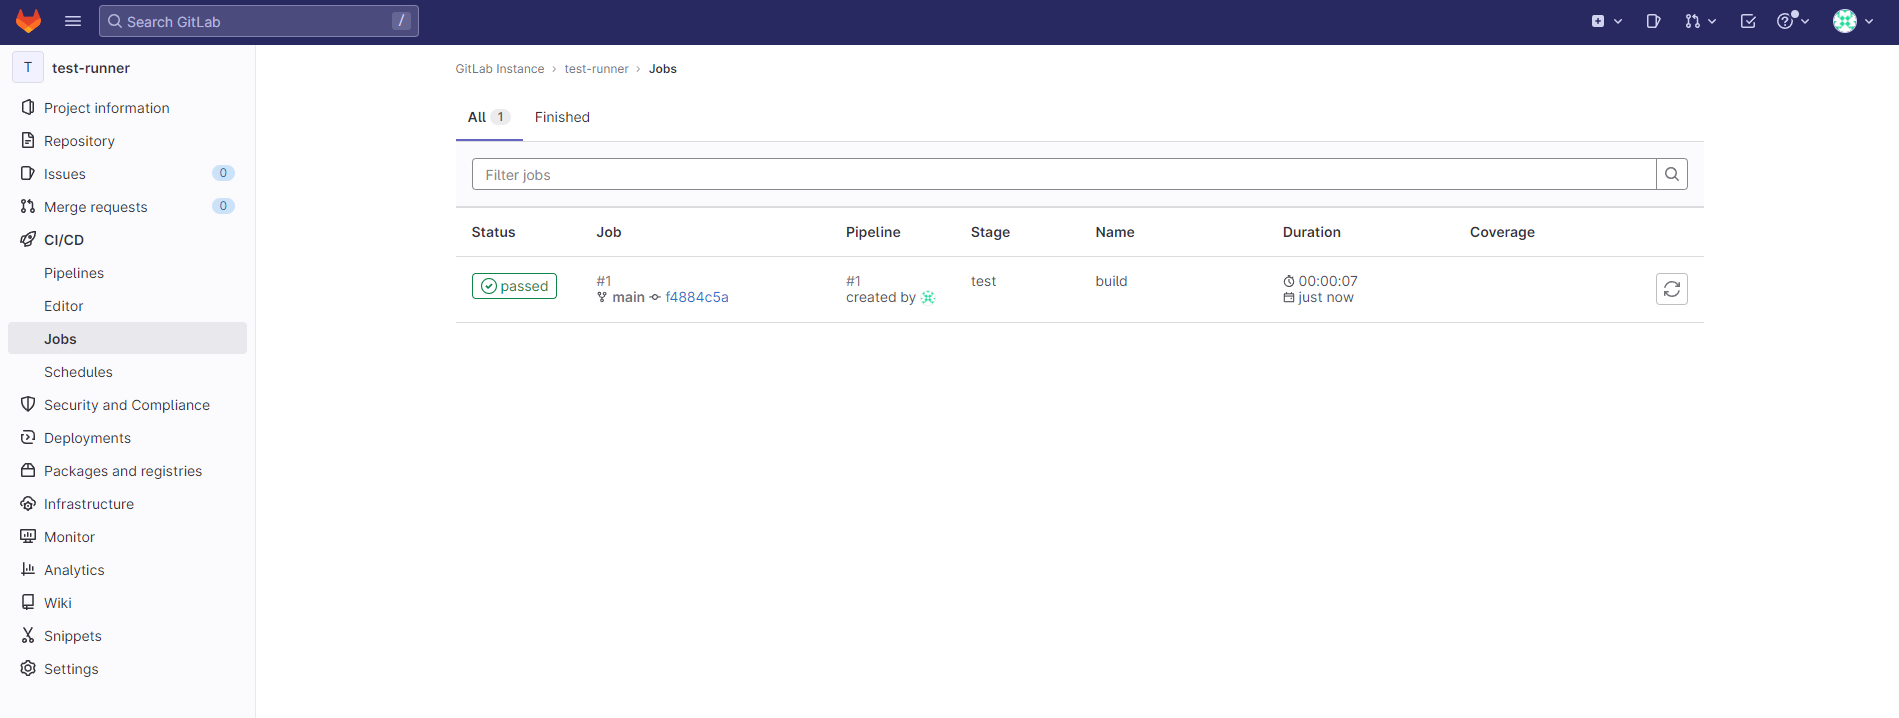
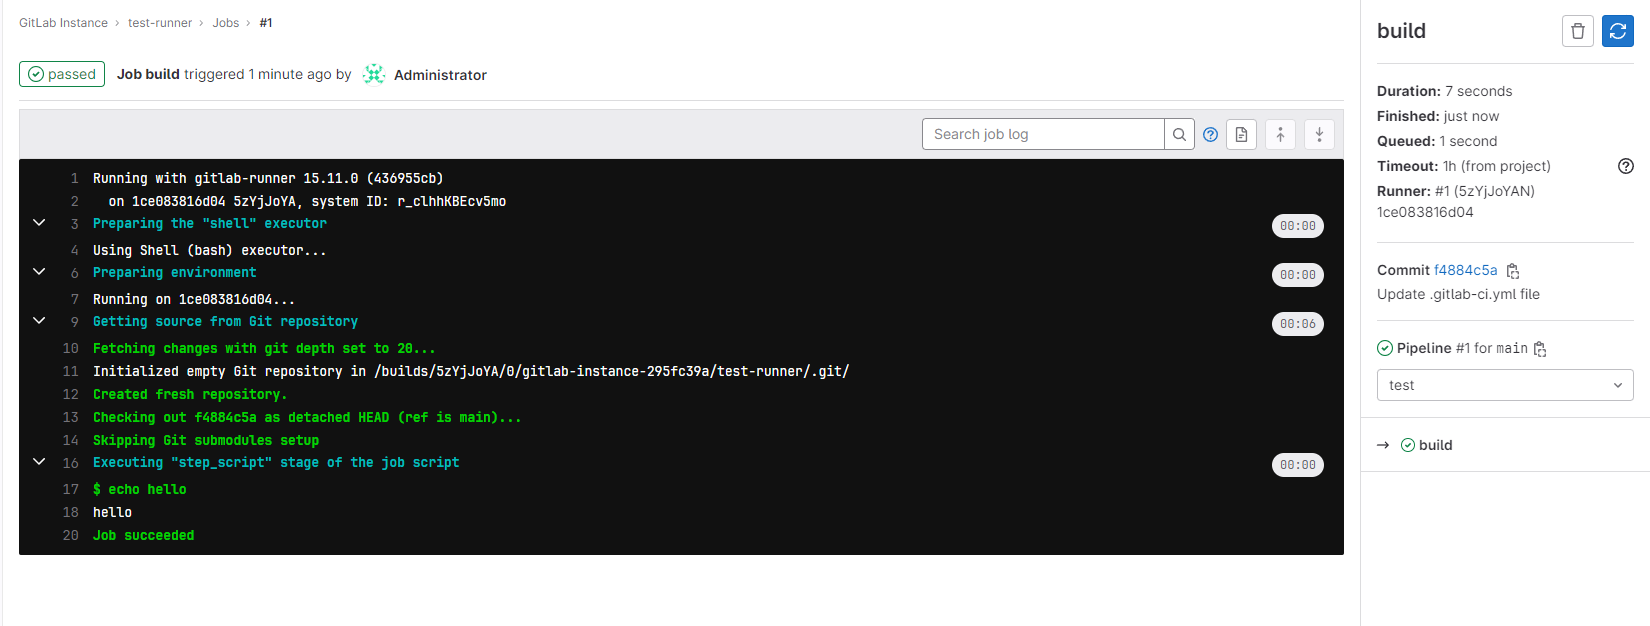
なんか良さそうだ…!
これでテストを実施するコマンドやら、ビルドが通るかのコマンドを入れておくと良いのかな~。
参考
- GitLab Runner
https://docs.gitlab.com/runner/ - GitLab Runner構築のススメ
https://www.gitlab.jp/blog/2022/09/26/runner-summary/
おわりに
Gitlab-runner の登録の方法を学びたかったので調べた。
殆ど、GitLabのブログと同じ内容だが、写経という意味で書いた。
自分のプロジェクトは殆どGitHubなのでGitLabは使っていないのだが、業務ではGitLabを使っているので実践できそう。